Are you like me, and have a hard time fitting into jeans? Practically every single pair of jeans I’ve ever owned had to be altered in some way or form. Mostly at the bottom hems, as the legs are almost always way too long, even when I attempt to add height with heels. While being 5’1″ does have it’s advantages (I’m sure), it’s certainly not to my advantage when it comes to fitting into pants, apparently.
Going back in time to my very first stitch, always having too-long jeans was one of the reasons why I taught myself how to sew, first by hand, and then by machine. Since then, I think I’ve pretty much mastered the art of basic hemming. Now I no longer worry too much when I do go out and buy a new pair of jeans because I know I can fix them when I need to.
There are lots of ways you can hem jeans or pants when you need to alter the length, but one of my favorite ways of hemming jeans is where you can shorten the length, but still keep the original hem attached. Hemming jeans this way is a good method because the original hem of the jean is already nice and “natural” looking (basically how all new jeans look at the bottom) as opposed to having to make a new jean hem after shortening and having that obvious “altered” look to it. This method works very well with skinny or straight hem jeans. However, it doesn’t always work the best with jeans or pants that are flared in any way (particularly if the flare is really wide, like a bellbottom.)

Now this is not to say that it doesn’t work at all–this method does, in fact, work well with flared jeans as long as the flare isn’t too wide and you aren’t trying to take too much length off. I know because I’ve just altered my 6th pair of flare jeans the other day and I was very pleased with the outcome.
Oh, um, yah. I’ve got lots of flare jeans, btw. I’ve been stocking up on them because I really love 60’s and 70’s fashion, and I needed some good bottoms to accommodate all my retro t shirts and tops. I’ve also been on the hunt for more 60s and 70s vintage/vintage-inspired sewing patterns to add to my growing collection. I’ve found some great ones which I’ll share when I get down to sewing them (I’ve just finished sewing a really cute 70’s Vintage Vogue dress that you can see here. I’ve also got a great vintage Butterick 60’s dress already in the works that I hope to finish sometime soon.)
But anyway, back to jeans. Hemming flare jeans while keeping the original hem is definitely doable as long as you take the proper measures to FIRST find out if it can be done (use THIS TIP to see if your flare jean will still keep it’s shape and sew evenly with the original hem.) Doing this handy tip before attempting to sew will ensure that you aren’t just wasting your time and ruining your jeans in the process. If you find that the original hem of the flare is just too wide to be incorporated neatly with your alterations, then fear not. It just means that you will have to make a new hem.
So when you are certain you can keep the original hem as well as follow the original line and shape of the flare of your jeans, you can go ahead and alter them.

How to Hem Jeans (With Original Hem Attached)
For this tutorial, I’m going to demonstrate on a pair of jeans that I have that aren’t already hemmed. Unfortunately, at the time of this post, I had already hemmed all my flare jeans, so I’m demonstrating on a pair of skinny jeans. All the steps taken to prepare and sew jeans for hemming are the same regardless of hem size.
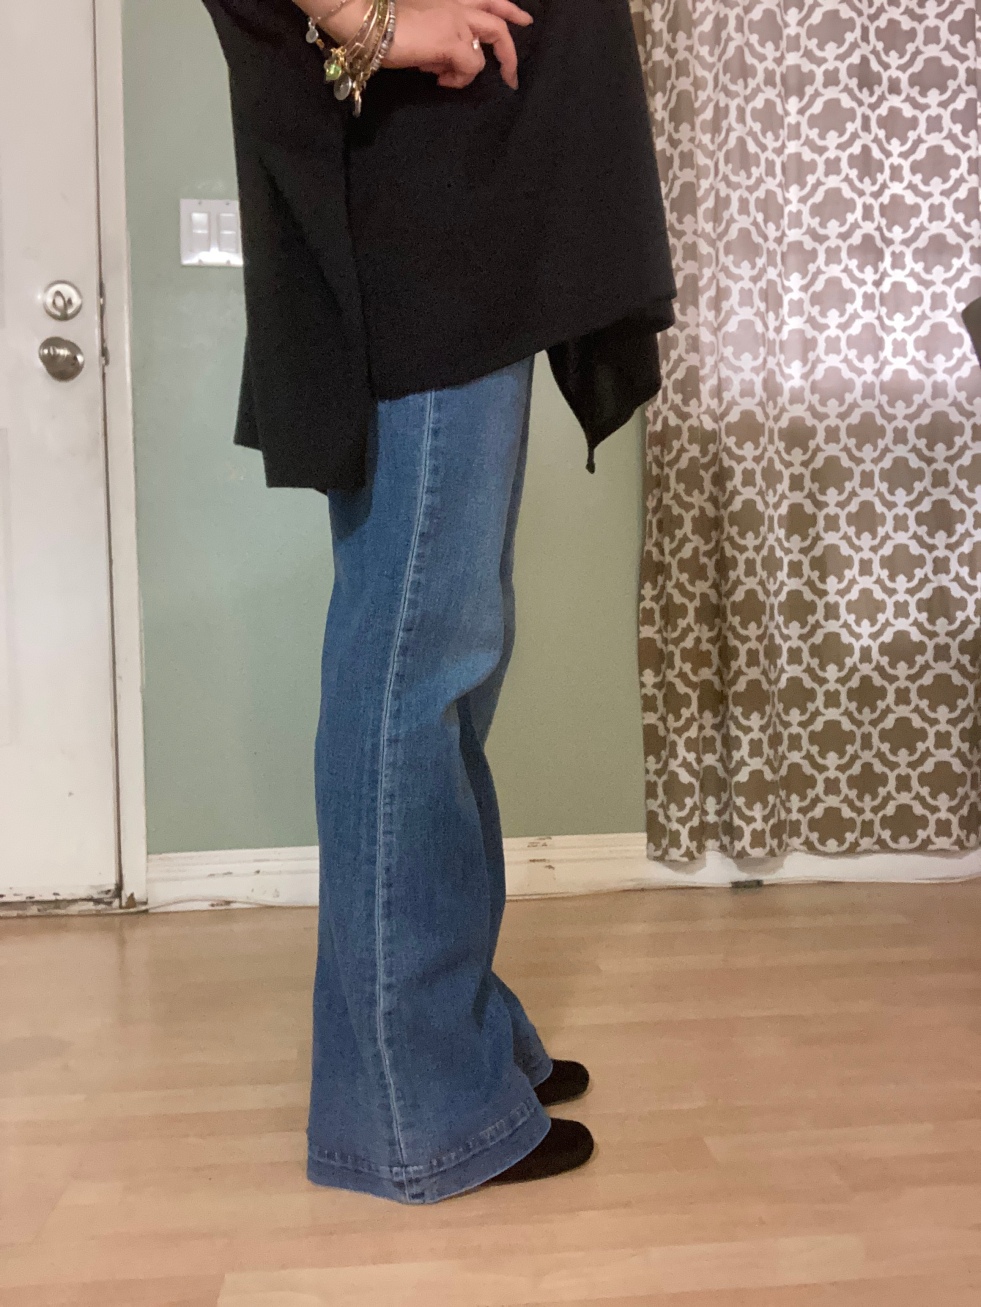
- First you need to try on the jeans (right side out). Using a mirror, check and fold up the desired length of where you want your hem to fall at. **It’s even better if you have someone with you that is willing to help you out with this step, as this can help greatly with achieving the perfect length of your jeans–With flare and wide leg jeans in particular, having the hem just hit the floor is ideal–but totally a personal style choice, so don’t feel the need to follow this advice if you don’t want to (Obviously I’m not wearing the pants in this pic, but this is what its supposed to look like while you are wearing them and doing this step).

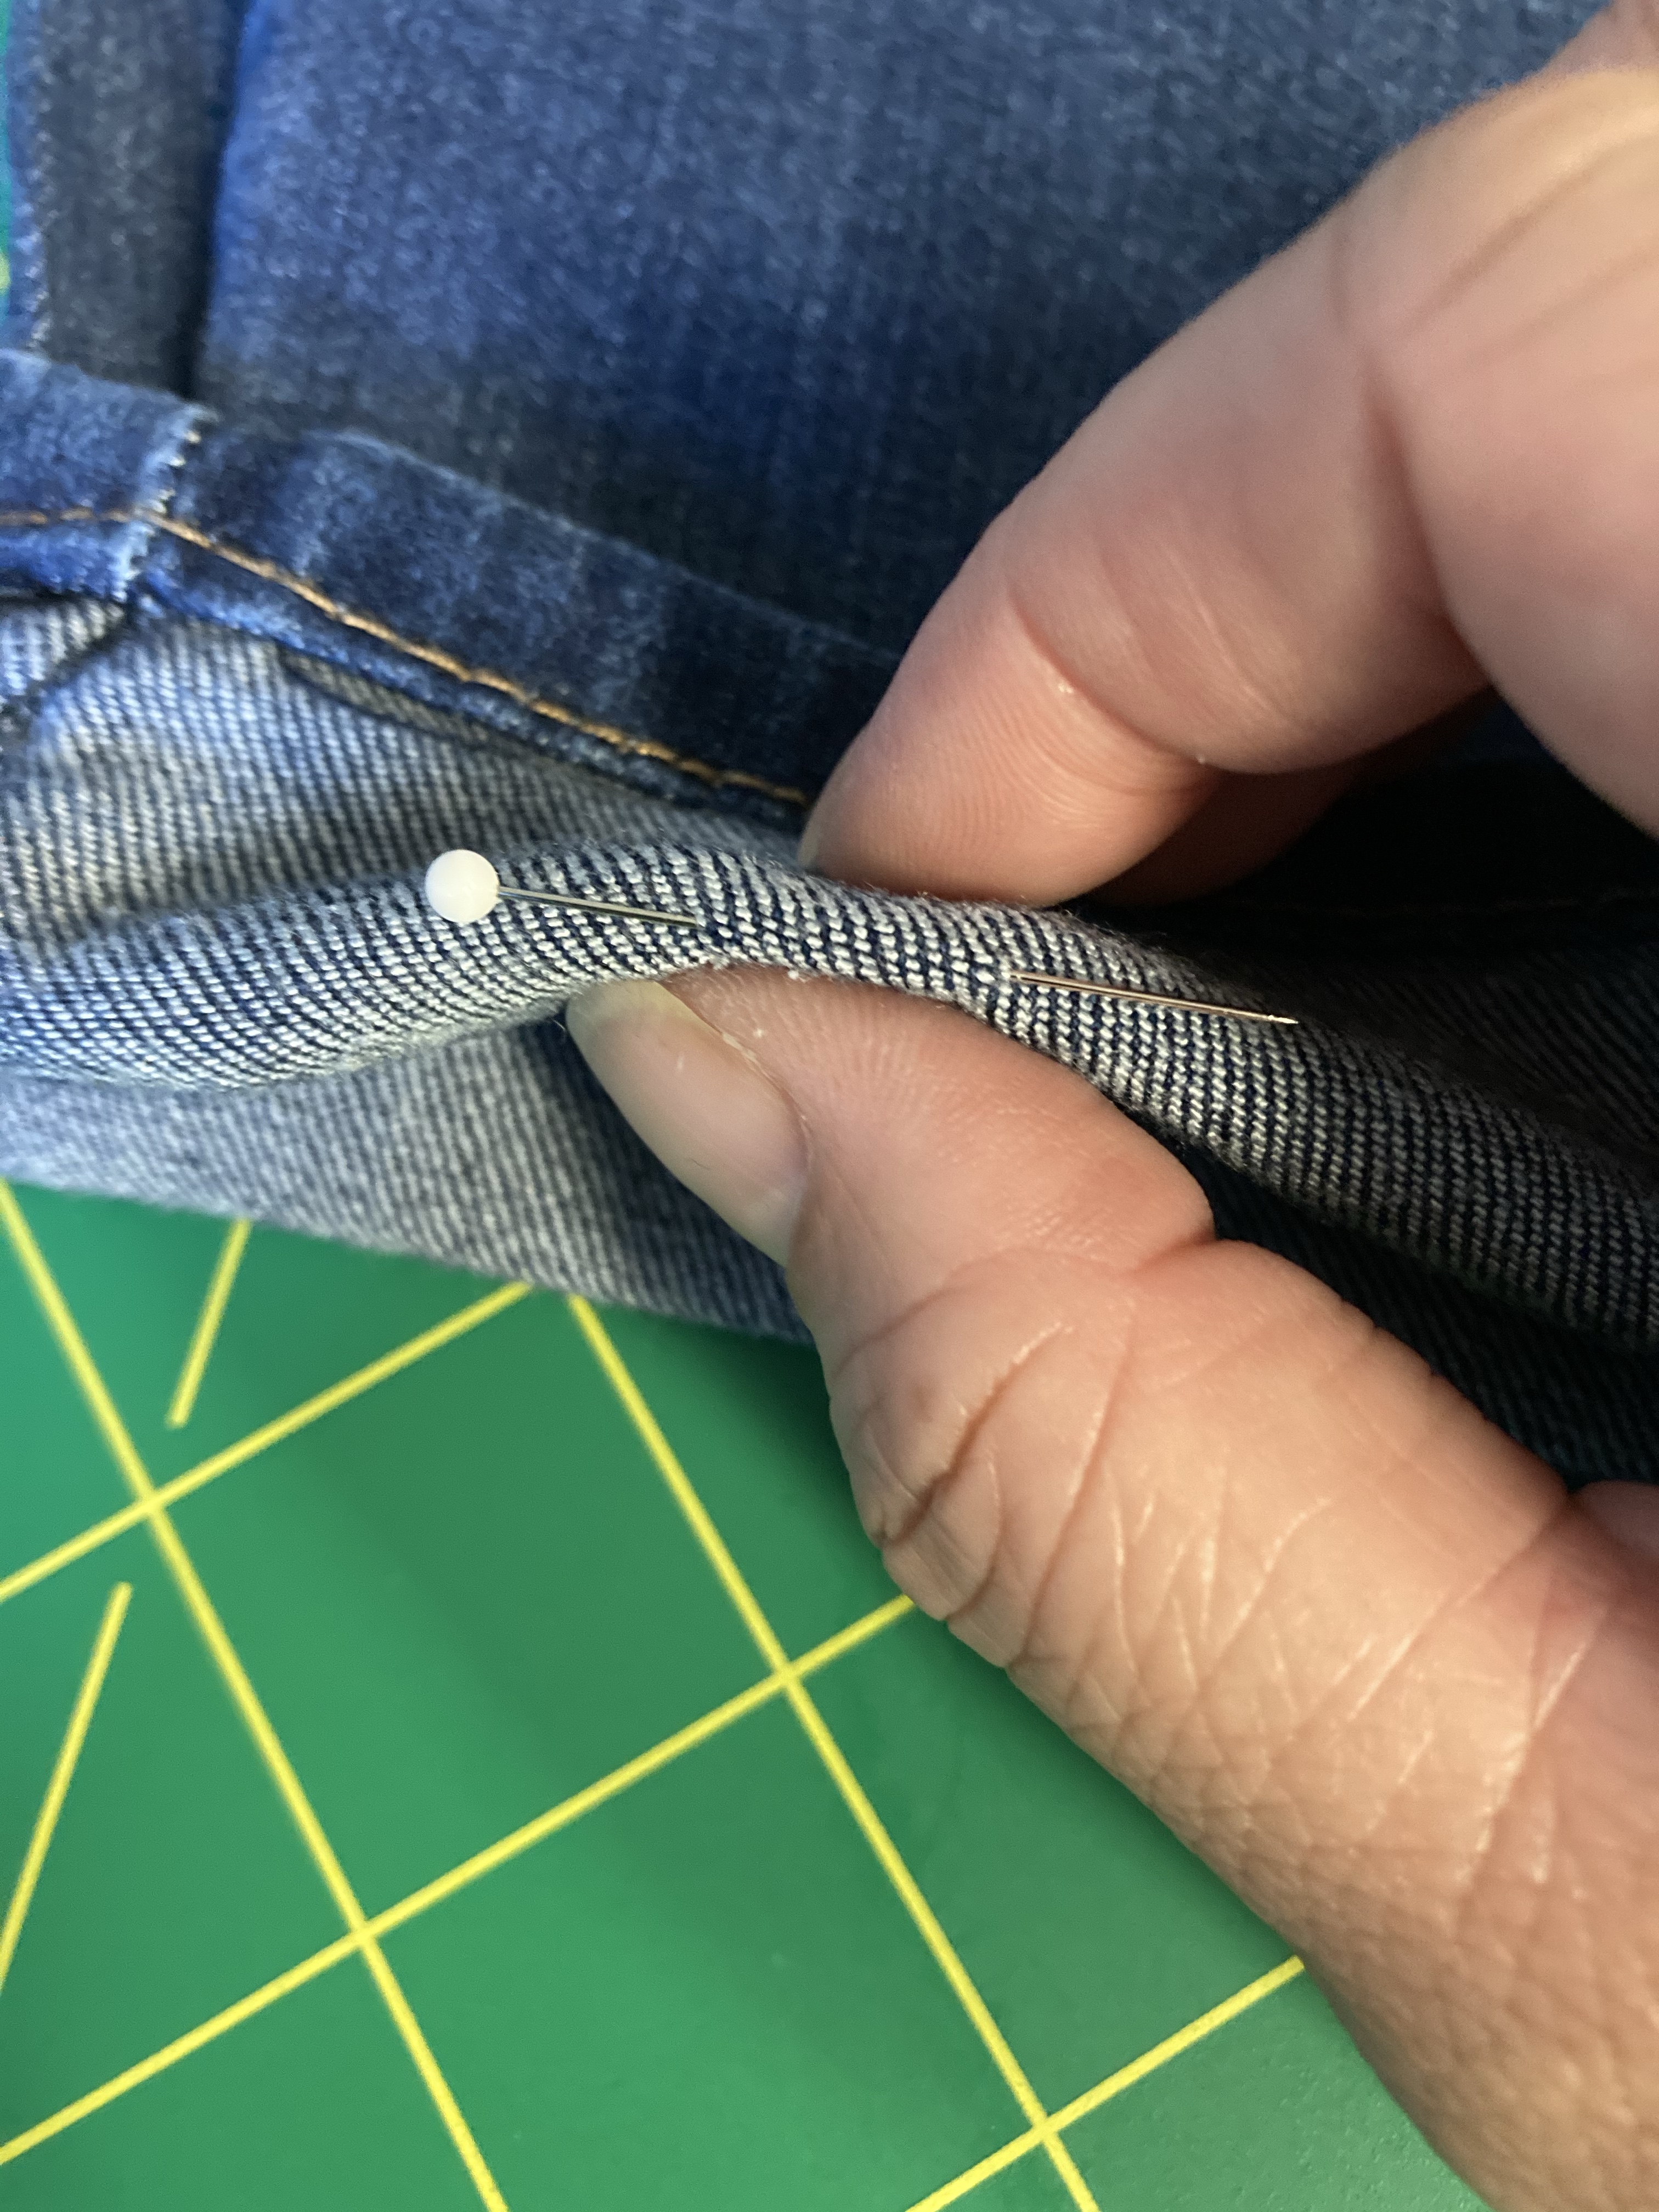
2. Once you have your desired length folded up, take a pin and mark the bottom of the hem

3. Remove your jeans (duh!) and take it to your sewing area and unfold the leg of the jean without removing the pin. The pin will mark where you are going to bring the original bottom hem up to.

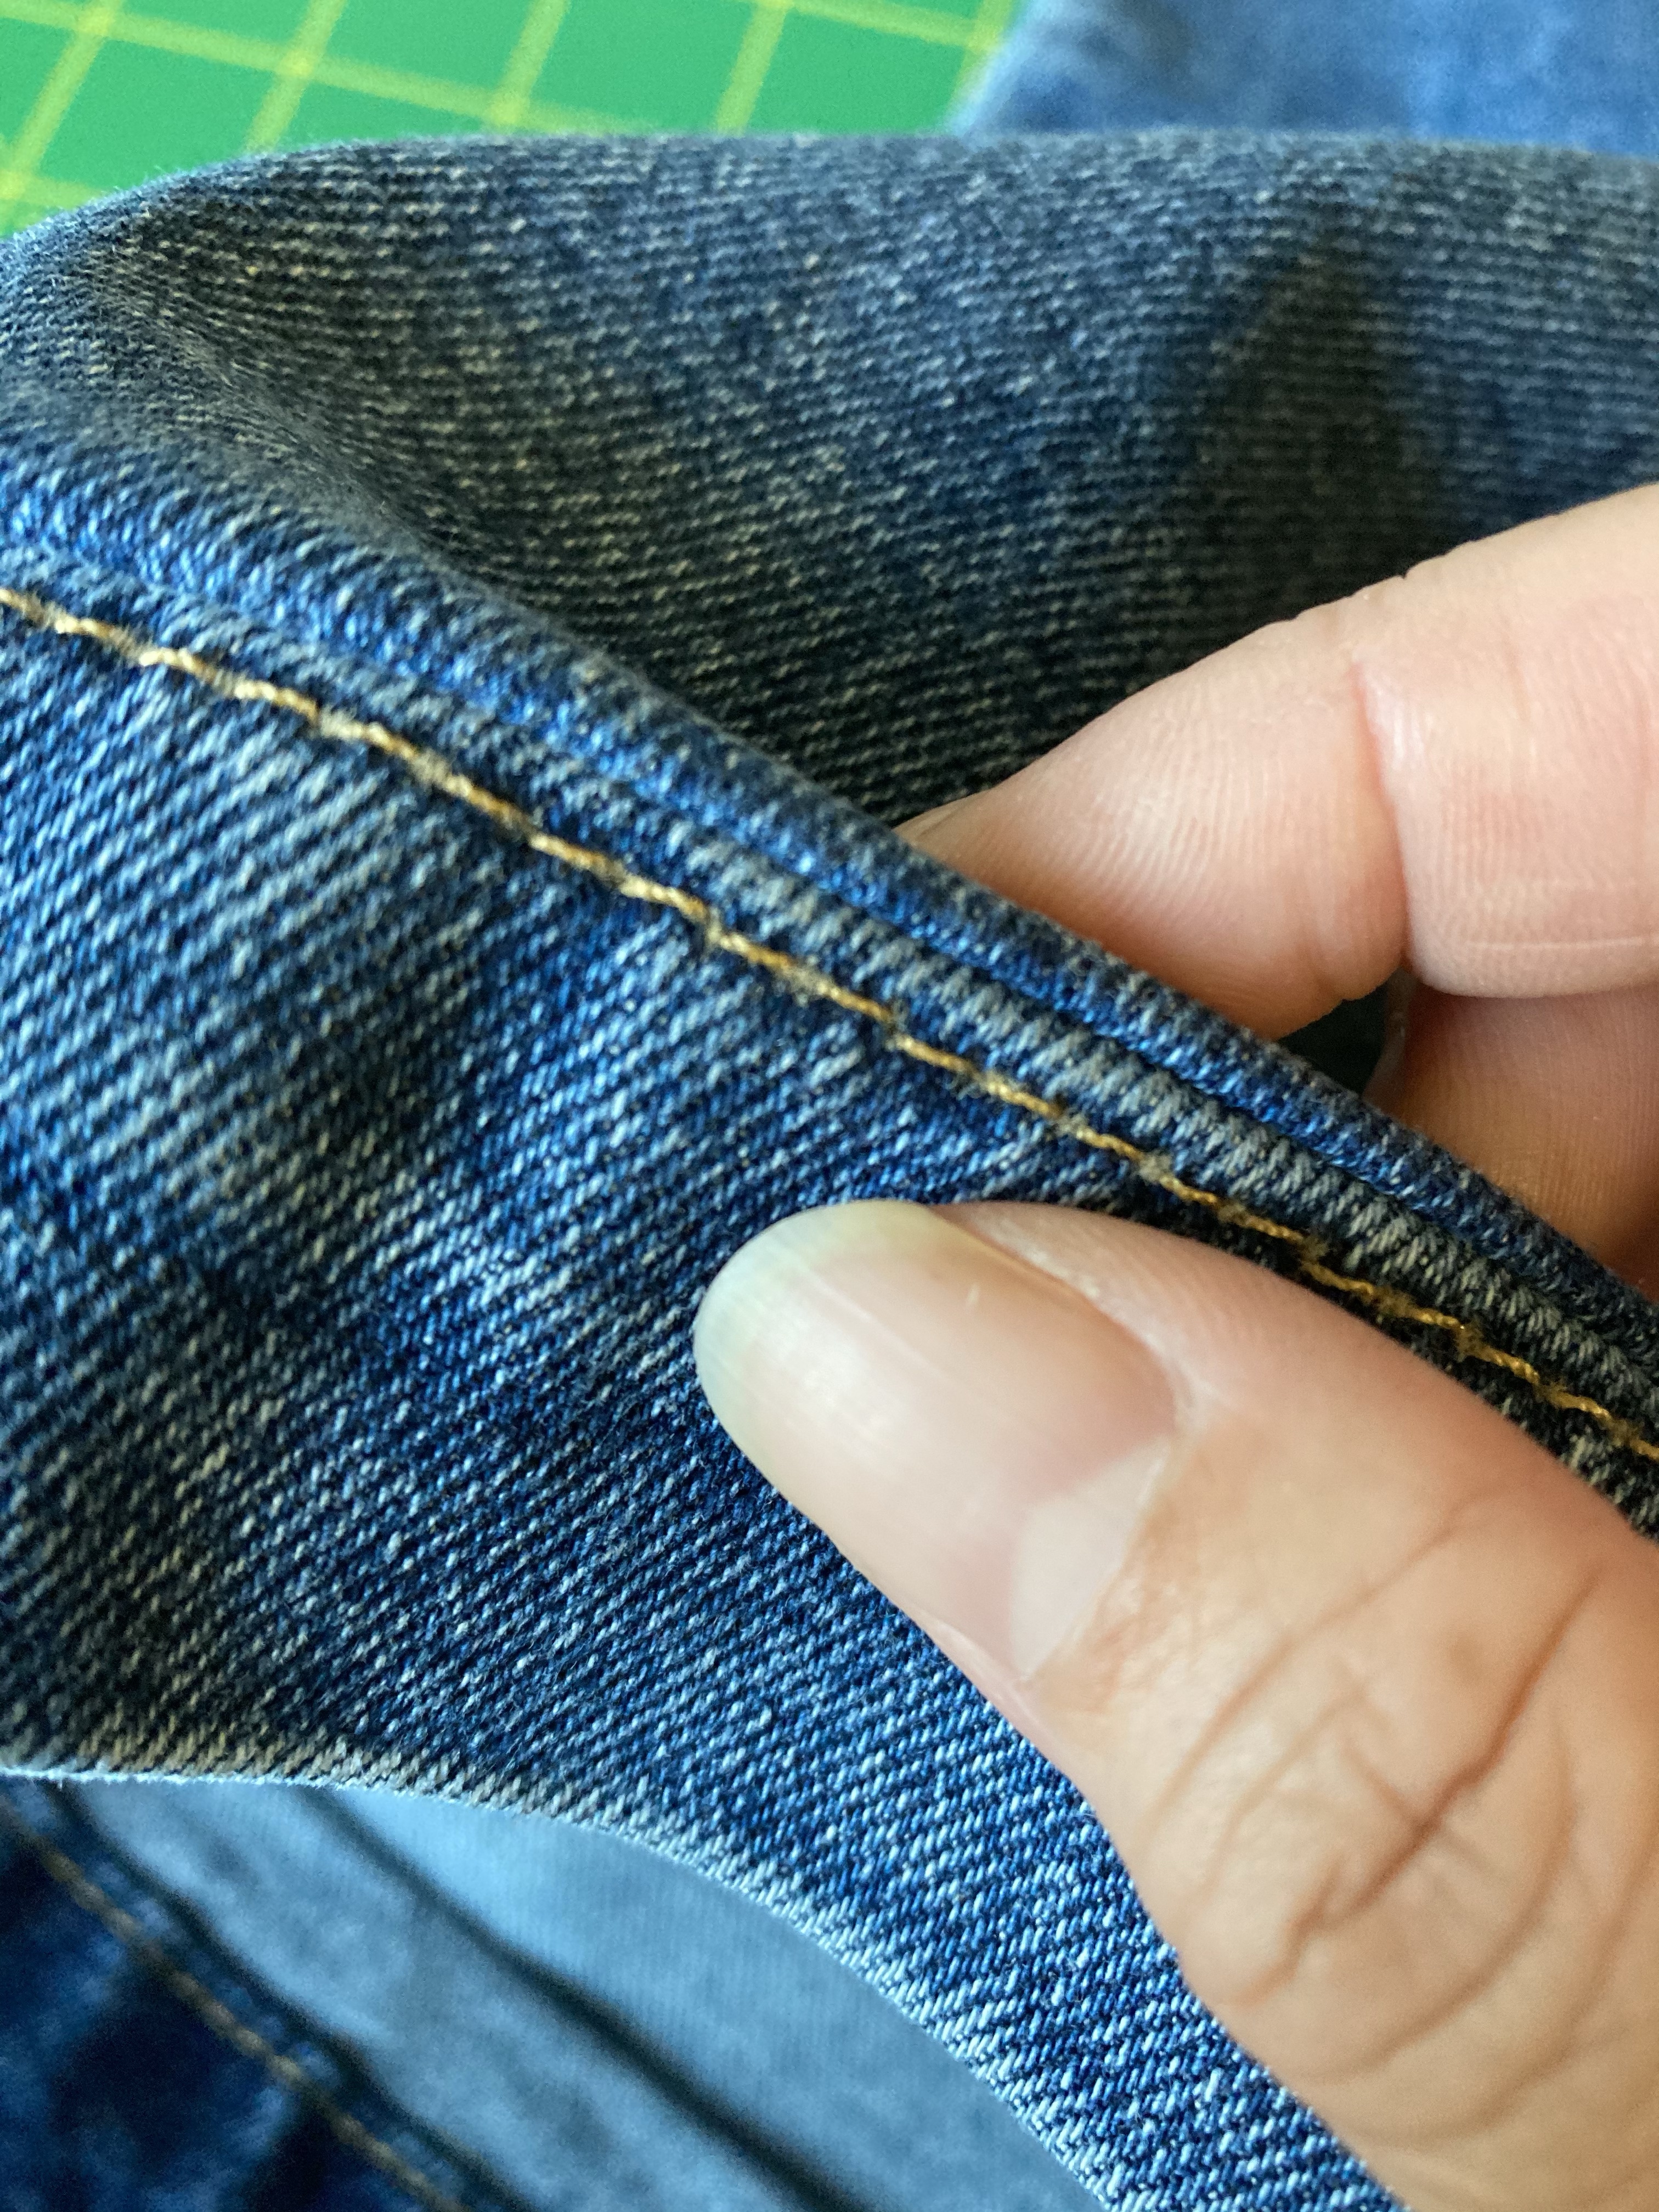
4. Take your original bottom hem and bring the top seam up to just above the pin line (It makes it easier to line up the top seam and also pin if you turn your jeans upside down like the bottom pictures show. Mark it with a new pin) Once the new pin is in, at this point you can go ahead and remove the “marker” pin.


5. Fold over the rest of the hem and line up the side seams of the leg to the side seam of the original hem first. Once they are perfectly aligned, place a pin to keep it in place. Then continue to pin all around.


6. Once you’ve pinned your fold all around on both jean legs, it’s time to sew! Take your jeans to the machine and sew a straight stitch as close as possible to the original hem as you can. Don’t forget to backstitch as you begin and end your stitches!

**I’m going to switch to a finished flare jean now since I didn’t actually sew this pair of skinny jeans.
6. When you are all done sewing and finishing your straight stitch, your jeans should look like this:


7. At this point, you need to decide if your folded hem needs to be cut off or left as is before turning up. For this flare jean, I didn’t have to take up much length, so I just left it as is and turned up the folded cuff. If you took up more length and fold is longer than the new hem after turning up, then you will need to cut it off and finish it with a serger or an overlock/zigzag stitch to prevent unraveling and excessive hanging threads after washing. Here is an example of a pair of jeans I that I had to cut and finish before turning up the cuff:

8. If you’ve completed finishing the fold and turned up the cuff, your newly hemmed jeans should have turned out nice and smooth with a new shortened hem. Pull gently along the bottom to straighten out the folds of the seam. If you sewed closely to the original hem you should not be able to easily see where the taken up hem meets the top of the original hem on the jeans. Notice also how the taken up leg seam lines up neatly with the original bottom side seam of the hem in the 3rd and 4th picture. From a distance it shouldn’t look like it was altered at all.


Now to really seal the new hem of your flare jeans, take it to the ironing board and iron that fold down flat. This will also help achieve that “these jeans are hemmed, but it doesn’t even look like it” look.
Lastly, pair them with some quintessential 60s and 70s inspired tops, shoes, and accessories and rock it like it’s nobody’s business!


Outfit Details: Oversized Tunic from NY & Co., High Waist Flare Jeans from Gap, Stella Necklace from The Songbird Collection, Stackable Bracelets from Alex & Ani


Outfit Details: Boho Floral Bell Sleeve Top from Jaase, Johnny Cash tshirt from Zion Rootswear, High Waist Flare Jeans from Gap. (P.S. For all you music purists out there: Yes, I know who Johnny Cash is, and yes, I do listen to his music all the time, so I feel fully justified in ‘repping his logo on my chest. Also, no, I do not own a Pink Floyd/Ramones/Led Zeppelin tshirt. Cool bands, equally cool logos, but I just don’t listen to their music enough. Jus’ sayin…)


Outfit Details: La Marina Corta Embroidered Peasant Top from Siren Brand Clothing, Vintage Guess Flare Jeans

Hope you got some good tips for hemming your jeans, and hope you had fun playing Retro Dress Up! Thanks for stopping by!
Later Gator,


Hi there Gilly!! I came across your blog while looking for a way to hem flare jeans for my granddaughter. It’s a Godsend as I am too a “shorty gal” and always hemmed pants and jeans
but never thought you can keep the hem of jeans! Back in the day I would just cut and let then fray!! Love your 60s and 70s outfits…they bring back a lot of fun memories for this 68 year old. Thanks much!!!
LikeLiked by 2 people
Hi! Thanks for stopping by and I’m glad I was able help you out with hemming! ☺️
The 60s and 70s had the best fashion, hands down!
LikeLiked by 1 person
Hi Gilly, do you have a good tip on how to reduce the width of a an original flared jeans’ hem? I searched you tube but could not find any video that actually shows how it can be done with minimum impact to the original look. Thank you!
LikeLiked by 1 person
Hi! Thanks for visiting my blog! Unfortunately, I haven’t tried to reduce the width of any of my flare jeans before so I don’t have any concrete advice to give you.
However, I did do my own search to see if I could find any good tutorials. Have you already seen these on YouTube yet? In my opinion they are really good follow-along videos that show how to taper the flare leg and will yield the best results without making the jeans look obviously altered:
This is a good article online too. It shows how to make flares into skinny jeans, which I know is not what you wanted, but the process I of how to taper the leg is basically the same:
https://www.instructables.com/Transform-Flares-Into-Skinny-Jeans/
Sorry I couldn’t give you any of my own advice, but hopefully these links could help in some way. Happy sewing!
LikeLike